We are so excited to be participating in this year’s Downtown Highland Park Scarecrow Fest & Walk. Over two dozen of Highland Park’s downtown businesses will display their scarecrow creations this weekend. Mariani Landscape enjoyed supplying the materials and shared our how-to guide with these businesses. As it turns out, they had some tips to share with us! So, we have rounded it all up, and we are happy to present our basic how-to build a scarecrow guide with you, along with tips from those who participated in the scarecrow building! We hope these suggestions will help you make your very own scarecrow.
How to Build Your Scarecrow
Here is a step-by-step guide to building your scarecrow. We will show you what materials to use and how to put it all together. Keep in mind that the real fun happens when you add your personal touch to make it your own! Let’s get started.
Suggested Materials
A tarp (or similar) to contain the straw and minimize the mess in your building area
One/half Straw Bale with plenty of straw for stuffing the scarecrow
A second whole bale to be used as the seat for your scarecrow
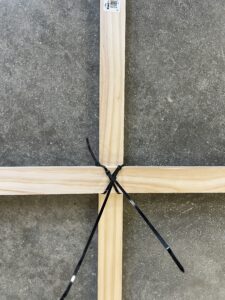
Two 3′ wood strips will be used as a cross-member to support the body of the scarecrow
Four zip ties to fasten the wood strips together in the shape of a cross
One 4′ x 4′ piece of burlap cloth
30′ jute twine
Everything to “dress” your scarecrow and hold it together. Depending on who your scarecrow is, it will be up to you to decide. Long sleeves will work best. Consider everything from: pants, shirt, vest, coat, jersey, gloves, shoes, boots, hat, wig, glasses, face, props, safety pins, etc.
Instructions
Step One: Lay out your tarp in a large, dry place to build your scarecrow (garage, basement, and storeroom are good spots to consider.)
Step Two: Create a cross using two wood strips, holding them together with four zip ties—two doubled to make them long enough.
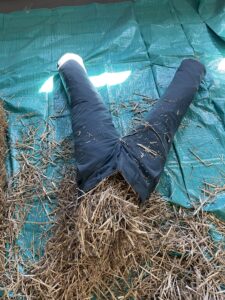
Step Three: Stuff the lower half of your scarecrow using pants and straw.
Step Four: Fit the scarecrow’s top (shirt, jersey, coat, etc.) over the cross.

Step Five: Stuff the arms, then the upper half of the body using more straw.
Step Six: Create the scarecrow’s head using straw and burlap, stuffing the straw to make a head shape. Pro tip: If you’re using a hat, helmet, etc., use that to help form the head by stuffing the burlap up into the hat and then stuffing it with straw.
Step Seven: Attach the head by pulling the burlap under the shirt and spreading it around the shoulders to keep the head in place. Use the twine as needed to reinforce and hold various parts in place.

Step Eight: Add shoes, gloves, hats, and accessories. Make it fun!
Step Nine: Position the scarecrow on a straw bale or chair.
You’re done!
As you build your scarecrow, you might notice that it’s all easier said than done! That’s why we asked this year’s Highland Park Scarecrow Fest participants to send us their tips.
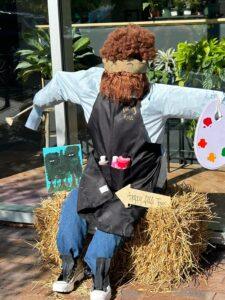
Ashley Wilson with Kaleidoscope heART told us, “We used rubber bands around the burlap after the form was stuffed with hay to cinch it, and then stuffed it into the shirt. Our jeans were made of stiff enough material not to need to be attached to the shirt. We used Sharpies to paint on the burlap.” They stuffed the burlap into the wig and stapled it on to give their scarecrow hair and a beard. Check out the Kaleidoscope heART scarecrow on their Instagram.
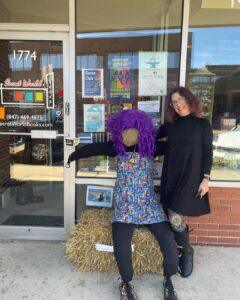
Gayle Brandeis with Secret World Books shared her tips on creating a theme around your scarecrow. “Choose a theme and see what you already have that can fit with that theme. We knew we wanted our scarecrow to have a book-related outfit to go with our bookstore; I had a dress and shoes covered with drawings of books, so we decided to use those. Once we stuffed the scarecrow in my long underwear and dressed it up with the book dress and shoes, it looked so much like me that my daughter suggested we get a purple wig to make it look like me even more. I wasn’t planning on making a doppelganger scarecrow, but that’s what happened. That’s another tip–go with the flow when you make your scarecrow, and you could end up with a fun surprise!” Check out the Secret World Books scarecrow on their Instagram!
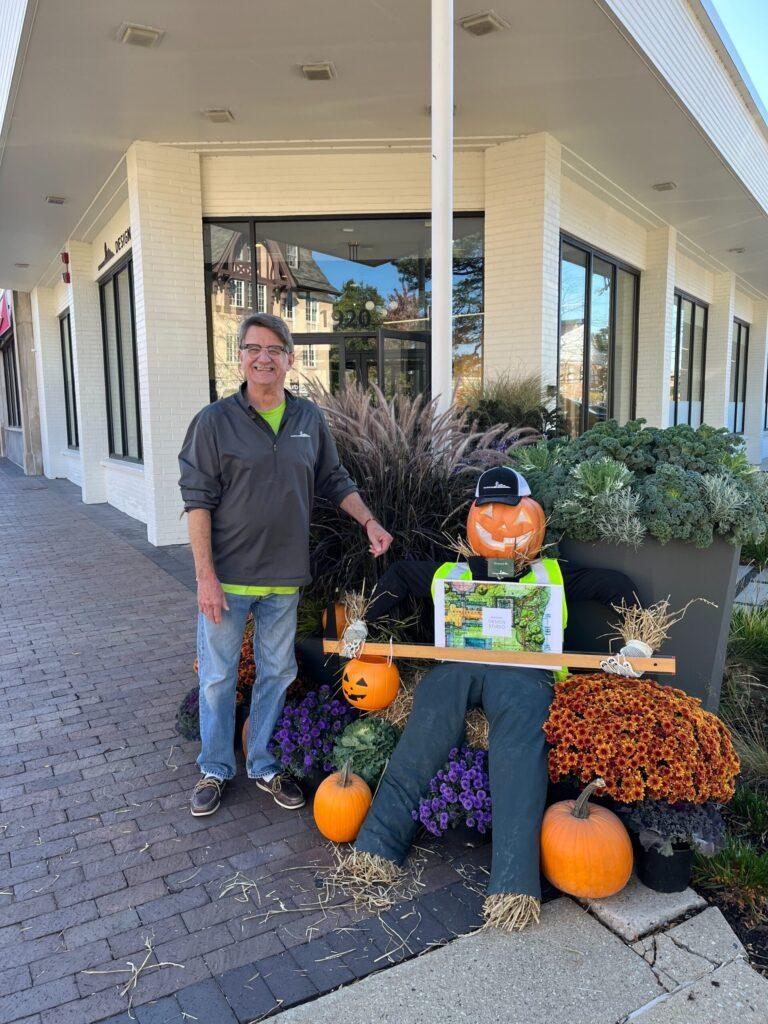
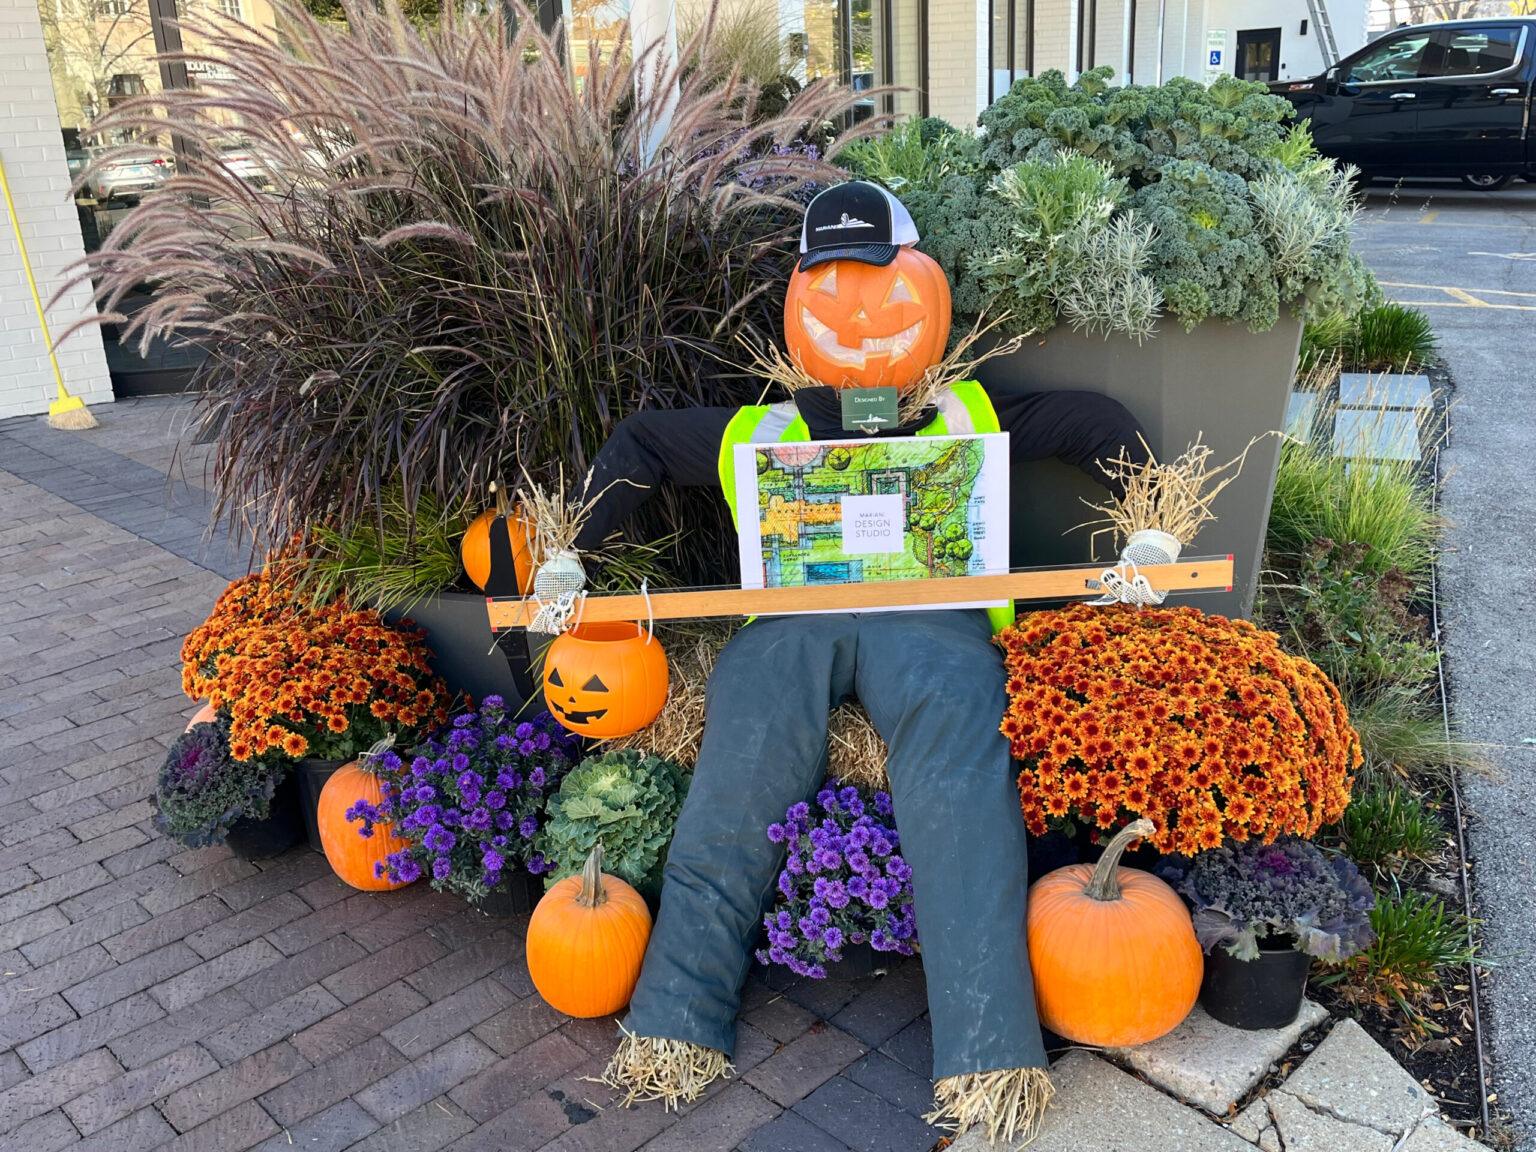
Mariani’s Senior Project Architect, Tom Selinger, led our scarecrow transformation at the Mariani Design Studio and had some tips to share. “A button-down shirt is a better consideration over a pullover. It’s much easier to put onto the scarecrow’s body. To fasten the bottoms to the top, I recommend heavy-duty safety pins. You don’t want to lose your pants!” Tom shared expert advice for attaching items to the scarecrow, “zip ties are great for fastening just about anything. If you’re trying to display props with your scarecrow, fishing line is a better option over wire or twine because you can’t see it.” As for aesthetics, Tom shares, “A pumpkin head is easy because it’s already head-shaped and looks friendly. Stuffing straw where the gloves meet the arms, around its neck, and out the bottom of the pants helps to give it a good shape and gives it that traditional scarecrow feel.”
Sarah Keating Oates with the Bar Method Highland Park shared that her love for the Bar Method community inspired the design of their scarecrow. “The secret lies in creativity, unbridled passion for spreading the love of Bar Method and wellness to our Highland Park community.” Sarah also shares that enlisting the perfect helpers is essential to creating the perfect scarecrow, “I had three amazing sidekicks: my daughter Lucie, my son Grayson, and my husband TK, who all helped bring our scarecrow to life.”

We hope these instructions and expert advice help you create your own scarecrow! If you do, please share it with us. You can tag us on Instagram here. We’d love to see what you come up with.
Swing by the Mariani Design Studio to see our scarecrow creation at 1920 Sheridan Rd in Highland Park.
Be sure to check out the many scarecrow creations this weekend at the Highland Park Scarecrow Fest and Walk. Then head to The Lot to celebrate the season and vote for your favorite! The festivities at the lot take place October 19th, 2024, from 12 PM – 5 PM at The Lot, 525 Central Ave. Click here for all the details.